Coops & Housing
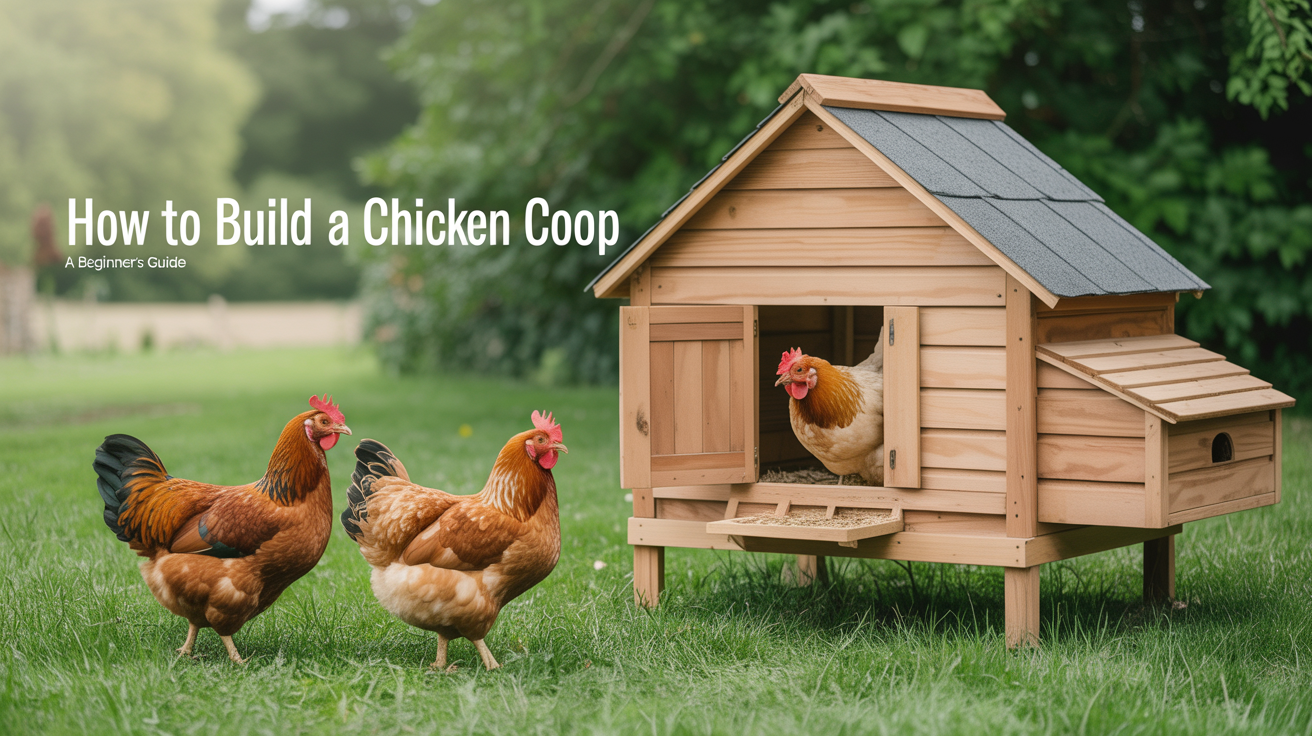
How to Build a Chicken Coop: A Beginner's Guide
How to build a chicken coop from scratch: a practical beginner's guide to sizing, materials, ventilation, nesting boxes, and predator-proofing.
Building your own chicken coop is one of the most rewarding things you can do as a new flock keeper. Get the fundamentals right and you'll have a safe, comfortable home for your birds that lasts years without constant repairs or headaches.
This guide walks you through every major decision, from choosing a site to nailing on the last piece of hardware cloth, in plain language with real numbers.
Plan Before You Pick Up a Hammer
The single most common mistake beginners make is building a coop that's too small. You picture two or three hens; a year later you have eight. Start with your target flock size, then build for a few birds more.
General space minimums:
- Inside the coop: 4 square feet per standard-breed bird (heavy breeds like Plymouth Rocks or Buff Orpingtons need closer to 5–6 sq ft)
- Covered run attached to the coop: at least 8–10 square feet per bird
- Bantam breeds: you can get away with 2–3 sq ft inside, 4–6 sq ft in the run
For a deeper look at how stocking density affects flock health, see our guide on how big a chicken coop should be.
Before building anything, also check:
- Local zoning and HOA rules. Many municipalities cap flock size or prohibit roosters.
- Setback requirements. You may need the coop at least 25–50 feet from property lines.
- Building permits. Structures over a certain square footage (often 120 sq ft) may require one.
Choose a Site
Pick a spot that:
- Gets morning sun but has afternoon shade in summer
- Has good drainage so the run doesn't turn into a mud pit after rain
- Is close enough to your house that daily chores don't feel like a trek, but far enough that odor isn't an issue (30–50 feet is a reasonable middle ground for most yards)
- Has a clear sight line from a window so you can spot trouble at a glance
Avoid low-lying areas where water pools. A slight slope away from the coop door is ideal.
Materials and Basic Coop Plans
You don't need premium lumber. Standard framing-grade 2x4s work fine for the frame. Here's a practical materials list for a 4x8 foot coop designed for 6–8 standard birds:
| Component | Common choice | Notes |
|---|---|---|
| Frame | 2x4 SPF lumber | Cheap, available everywhere |
| Walls | 1/2" plywood (OSB as budget option) | Paint or seal all exterior surfaces |
| Roof | Metal roofing panels or asphalt shingles | Metal sheds water better, lasts longer |
| Floor | 1/2" plywood, sealed or painted | Raises birds off the ground, easier to clean |
| Windows | Salvage or framed screened openings | At least 1 sq ft per 10 sq ft of floor space |
| Hardware cloth | 1/2" galvanized, 19-gauge or heavier | NOT chicken wire — see predator section |
| Door hardware | Barrel bolts, locking latches | Raccoons open simple hook-and-eye latches |
Hardware cloth vs. chicken wire is not just a preference. Chicken wire rusts quickly and has openings large enough for weasels, rats, and small opossums. Hardware cloth is sturdier and keeps everything out.
Ventilation: The Feature Beginners Skip
Poor ventilation causes more flock health problems than almost any other coop mistake. Chickens produce a surprising amount of moisture and ammonia through respiration and manure. Without adequate airflow, respiratory illness spreads fast and feathers stay damp, which invites frostbite in winter.
The rule of thumb: at least 1 square foot of ventilation per 10 square feet of floor space, and most experienced keepers go higher.
Place vents high on the walls (near the peak of the roof if possible) so drafts don't blow directly on roosting birds at night. Fixed louvered vents covered with hardware cloth work in most climates. In hot regions, adding a low vent or two on opposite walls creates cross-ventilation.
Our full breakdown of airflow design and seasonal adjustments is in the guide on chicken coop ventilation.
Roosts, Nesting Boxes, and Interior Layout
Roosts
Chickens sleep on roosts, not in nesting boxes. A standard bird needs about 8–10 inches of roost space. Use a 2x4 laid flat (the wide side up) so birds can cover their toes with their feathers in cold weather. Mount roosts at 18–24 inches off the floor for most breeds; heavy birds appreciate lower roosts to reduce leg strain on landing.
Stagger multiple roosts in a ladder arrangement, or keep them at the same height to prevent squabbling over the top spot.
Nesting Boxes
One nesting box for every 3–4 hens is the standard guidance, though hens tend to prefer the same box and will queue. A standard box is 12x12x12 inches for most breeds. Mount them slightly below roost height so birds don't sleep in them (keeping them cleaner).
Line boxes with clean straw or pine shavings and refresh the bedding weekly. For specifics on sizing and placement by breed, see our guide on nesting boxes.
Pop Door
The small chicken-sized door (pop door) leading to the run should be at least 10x10 inches. Automatic pop door openers with light sensors or timers are worth every penny if your schedule is irregular.
Predator-Proofing: Non-Negotiable
Predators are patient, persistent, and surprisingly clever. A coop that isn't actively secured will eventually lose birds.
Key steps:
- Bury or apron hardware cloth. Dig a 12-inch-deep trench and bury hardware cloth along the base of the run, or bend it outward at a 90-degree angle on the surface for at least 12 inches (apron method). This stops diggers like foxes, dogs, and skunks.
- Cover the run. Hawks hunt during the day. A hardware cloth or welded wire roof keeps aerial predators out.
- Use locking latches. Raccoons can open simple twist latches. Use a two-step latch or a carabiner that requires two simultaneous actions to open.
- Seal all gaps. Any gap larger than half an inch is a potential entry point for weasels or rats. Check where walls meet the roof, around vents, and along door frames.
- Secure the floor. A hardware cloth floor in the run (covered with a few inches of dirt or sand) stops diggers entirely. Alternatively, the buried apron handles most threats.
Rats are drawn by spilled feed, not chickens specifically. Store feed in a metal container with a tight lid and use a feeder that minimizes spillage.
A Simple Build Sequence
For a first-time builder working alone or with one helper over a couple of weekends:
- Mark and level the site. Use concrete blocks or pressure-treated skids as a foundation. Elevating the floor a few inches off the ground stops moisture wicking and discourages rodents.
- Build the floor frame. 2x4s on 16-inch centers, topped with 1/2" plywood.
- Frame the walls. Two long walls, two short walls; include rough openings for windows, pop door, and human-sized access door.
- Add the roof frame. A simple shed roof (one slope) drains water reliably and is faster to build than a gable. Overhang the eaves 6–8 inches to keep rain off the walls.
- Sheath and seal. Plywood walls, then roofing material. Paint or seal all exterior surfaces with an exterior-grade paint; avoid oil-based stains inside where birds will contact surfaces.
- Install windows, vents, and doors. Hardware cloth all openings; add latching hardware.
- Build the run. Posts set in concrete, hardware cloth on all sides and top, apron buried or laid flat.
- Add interior fixtures. Roosts, nesting boxes, feeder hooks, and waterer placement.
- Add bedding. 3–4 inches of pine shavings on the floor works well for most keepers.
Frequently Asked Questions
How long does it take to build a basic chicken coop?
For a 4x8 foot beginner coop, plan on two to three full weekend days if you're reasonably handy with basic carpentry tools. That doesn't include drying time for paint or sealant. Buying a pre-made coop kit cuts time but often sacrifices quality, so inspect kit hardware carefully before buying.
What's the cheapest way to build a chicken coop?
Use dimensional lumber from a big-box store, scrounge windows and doors from salvage, and do the labor yourself. A simple 4x6 foot coop for 4–6 birds can often be built for $200–$400 in materials. The run hardware cloth tends to be the biggest single cost per square foot.
Do I need electricity in the coop?
Not strictly, but a waterproof outlet is useful in winter if you want a heated water base to prevent freezing. LED lighting on a timer can extend laying through short winter days. If you wire it, use weatherproof fixtures and run conduit, or hire a licensed electrician.
Can I use an old shed as a chicken coop?
Yes, with modifications. The main additions are proper ventilation (most sheds are too tight), predator-proof doors and windows with hardware cloth, roosting bars, and nesting boxes. Check the floor for gaps or rot. An existing structure can save a lot of time if the bones are solid.
How often should I clean the coop?
Most keepers spot-clean the nesting boxes weekly and do a full bedding change monthly. With a deep litter method (a thick layer of pine shavings managed with regular turning), full cleanouts can be quarterly. If you smell ammonia inside the coop, clean immediately; it's a sign moisture and waste are building up faster than the bedding can handle.