Coops & Housing
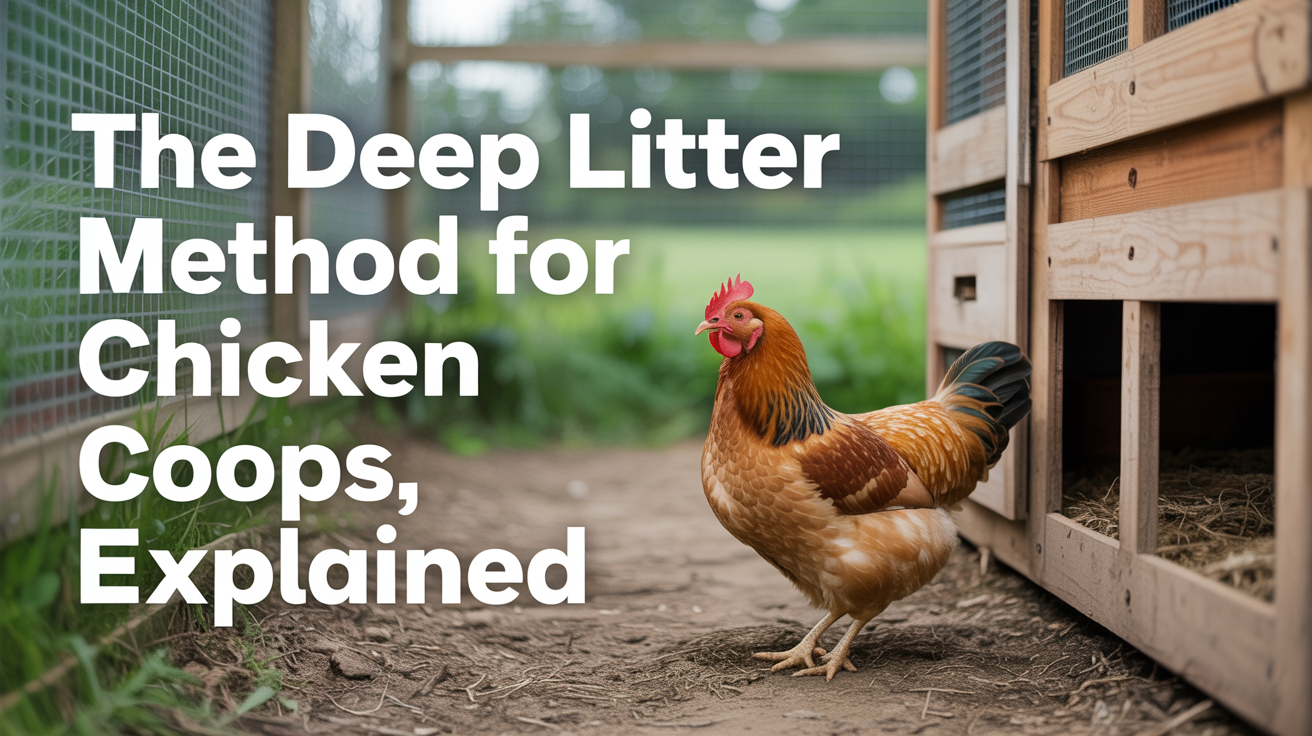
The Deep Litter Method for Chicken Coops, Explained
Learn how the deep litter method works, how to start it in your coop, and how to manage composting coop bedding through the seasons.
If you've been keeping chickens for more than a season, you've probably heard someone mention the deep litter method and wondered whether it's worth switching to. The short version: it can make coop maintenance noticeably lighter, support flock health, and turn your old bedding into usable compost. It does require a different way of thinking about the floor of your coop, though, so it helps to understand how it actually works before you start.
What the Deep Litter Method Is
Deep litter is a composting system built directly into your coop floor. Instead of scooping everything out every week, you layer carbon materials over the droppings and let the whole mass break down in place over several months. The organisms doing that breakdown (bacteria, fungi, beneficial microbes) generate a small amount of heat and, more importantly, they outcompete harmful pathogens when the litter is managed well.
The practice has been around in commercial poultry farming for decades. Small-flock keepers have adapted it because it genuinely reduces the number of full coop cleanouts per year while still giving birds a dry, workable floor surface to scratch on.
What you end up with at the end of the season is a partially composted material that finishes quickly in a regular compost pile and adds a lot to garden beds. So the time you're not spending on weekly cleanouts gets paid back again when you're ready to amend your soil.
One thing to be clear about: deep litter is not a neglect strategy. The litter needs regular attention to stay in balance. The difference is the type of work, not the absence of it.
How to Start a Deep Litter Coop
The setup is straightforward. You need a coop with a dirt or wood floor, good ventilation, and enough square footage that birds aren't packed in tightly. Ventilation matters more here than in a conventional bedding setup, because decomposition releases moisture. If that moisture can't escape, the litter turns anaerobic, stops composting properly, and starts to smell like ammonia. A well-ventilated coop is the foundation of making this work. If you're not sure your setup is adequate, it's worth reading through chicken coop ventilation and why it matters before you start.
For the initial layer, put down four to six inches of a dry carbon material. Pine shavings are the most common choice because they're dry, absorbent, and available almost anywhere. Straw works too, though it compacts more easily. Leaves, wood chips, and dried grass clippings can all be incorporated over time.
After that first layer is down, you mostly leave the floor alone. When you notice a wet or compacted spot, rake or fork the material to break it up and let air back in. Add a thin layer of fresh shavings on top every couple of weeks, especially under the roost bar where droppings concentrate. You're aiming to keep the top surface dry and friable, with active decomposition happening in the lower layers underneath.
Every few months, check the depth of the litter. A working deep litter bed usually ends up eight to twelve inches deep by the end of a season, partly from accumulation and partly because decomposition compresses earlier material downward.
Managing the Litter Through the Seasons
The litter behaves differently depending on the time of year, and adjusting your attention accordingly makes a big difference.
In summer, heat speeds up microbial activity but also dries the litter out faster than decomposition requires. Check for dust more often, and make sure birds have access to shade and water outside the coop. A very dry litter bed can kick up particulates, which is hard on respiratory health. A light spritz of water to a dusty section, or adding a fresh carbon layer, usually brings it back into balance.
In winter, the composting process slows down but doesn't stop entirely. Some keepers appreciate the small amount of warmth the litter generates underfoot during cold months. Keep raking the surface to prevent ice or moisture from locking into the top layer. Ventilation still matters in winter: a closed-up coop in January with a deep litter bed will get damp much faster than one with some airflow. The temptation to seal off every gap is understandable, but ammonia buildup is a real health risk for birds.
Spring and fall are the easiest seasons. Moderate temperatures keep decomposition steady, and the litter typically maintains good texture with minimal intervention.
A full cleanout once or twice a year is standard. Some keepers do one big spring cleanout. Others do one in fall before winter and again mid-spring. How often depends on how many birds you have and how large your coop is. With more birds per square foot, you'll need to add material more often and may want to cleanout more frequently. If you're figuring out whether your space is right for your flock size, the guide on how big a chicken coop should be covers the math.
When Deep Litter Works Well and When It Doesn't
Deep litter suits coops that stay reasonably dry and have birds that scratch actively. Chickens naturally turn the litter as they forage, which helps aerate it and mix new droppings into older material. The more birds scratch, the better the litter manages itself.
It works less well in very small enclosed coops where ventilation is limited, in climates with extreme, sustained humidity, or in setups where the flock is kept at a higher density than the space ideally supports. If you notice a persistent ammonia smell at bird level (not just a faint background odor, but something that makes your eyes water), that's a signal the litter is not breaking down aerobically. At that point, a partial or full cleanout is the right move rather than adding more material on top.
Deep litter is also not a fit for brooder situations with chicks under two weeks old. Young chicks can pick up pathogens more easily, and a fully established litter bed with an active microbial community is different from a fresh-started one. Many keepers use conventional frequent-change bedding for brooders and transition birds to a deep litter coop once they're older.
If you're building a new coop and thinking ahead about this kind of composting coop bedding approach, it's easier to design the floor space and ventilation for it from the start. The beginner's guide to building a chicken coop walks through the structural decisions that affect how well deep litter performs.
Signs the System Is Working
A healthy deep litter bed has a few consistent characteristics. The surface is dry and loose, not caked or wet. When you pull back the top layer, there's some warmth and a faint earthy smell rather than a sharp ammonia odor. Birds scratch and dust-bathe in it willingly, which is a reasonable behavioral signal that it isn't bothering them.
You'll also notice the litter compresses over time. Material you put down in March will be denser and darker by August, with the surface layer remaining light-colored and fresh. That darker, partially composted material at the bottom is the part that eventually goes to the compost pile.
When you do your cleanout, keep a few inches of the old litter in the coop if it looks and smells healthy. That retained material acts as a starter culture for the new season, seeding the fresh bedding with the beneficial microbes that make the whole system run.
Frequently Asked Questions
Does deep litter smell bad? A well-managed deep litter bed should not smell strongly of ammonia. A faint earthy, composty smell is normal. If you're getting eye-watering ammonia, the litter has gone anaerobic, usually due to too much moisture and not enough airflow. Rake the surface to introduce air, and check that your ventilation openings aren't blocked.
How often do I need to add fresh material? Most keepers add a thin layer of shavings every one to two weeks, particularly under the roost. During wet periods or high-production seasons you may need to add more frequently. Watch the surface texture rather than following a fixed schedule.
Can I use sand instead of shavings? Sand does not compost, so it won't create a deep litter system. Sand works well as a coop floor material in its own right and is easy to scoop-clean, but it operates differently. If you want the composting benefits of deep litter, stick with carbon-based organic materials.
Is deep litter safe for chickens? When managed properly, yes. The research behind commercial deep litter use found that an active, aerobic litter bed can actually reduce certain pathogens compared to bare concrete floors cleaned conventionally. The key qualifiers are "aerobic" (not waterlogged) and "managed" (turned, added to, not ignored). Birds with respiratory problems or chicks under two weeks old are exceptions worth discussing with a poultry veterinarian.
How do I know when it's time for a full cleanout? Depth, smell, and visual texture together give you the clearest picture. When the bed has compressed past twelve inches and the lower material is dark and dense, it's ready to go to the compost pile. If the smell shifts from earthy to sharply ammonia regardless of raking, that's a signal to do a partial or full cleanout rather than push through.